上传项目到jcenter
May 08, 2017
记录一下Android开发发布项目到jcenter的过程
Android 开发过程中需要拉很多依赖,比如官方的库,通常都是一句话调用,非常方便

之前也使用过jitPack,比起jcenter方便很多,不过使用的人没有用jcenter的多,新建 Android 项目也不会自己配置,如果你想用jitPack,可以看这篇文章上传项目到 jitpack
那么现在开始配置
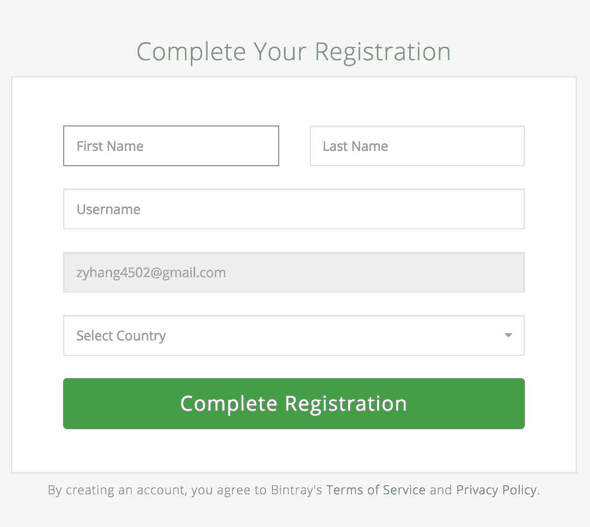
创建 bintray 账号
https://bintray.com/signup/oss
要发布到jcenter需要有个bintray账号管理你的仓库,上面是注册链接。注意这一步非常关键,因为你如果直接搜bintray跳去官网首页并注册的话是注册企业账号,是只有 30 天试用而且后续操作也会不同,所以千万注意要注册的是个人账号。
点链接进去之后选Sign up with Github用Github账号注册就好了,这里填写注册资料,里面的Username比较重要,关乎后面项目的配置
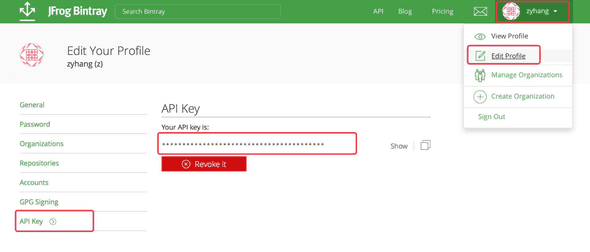
 注册完之后直接会跳到首页,这里还需要记住 API key 信息,也关乎后面项目配置。可以在个人资料页里面找到
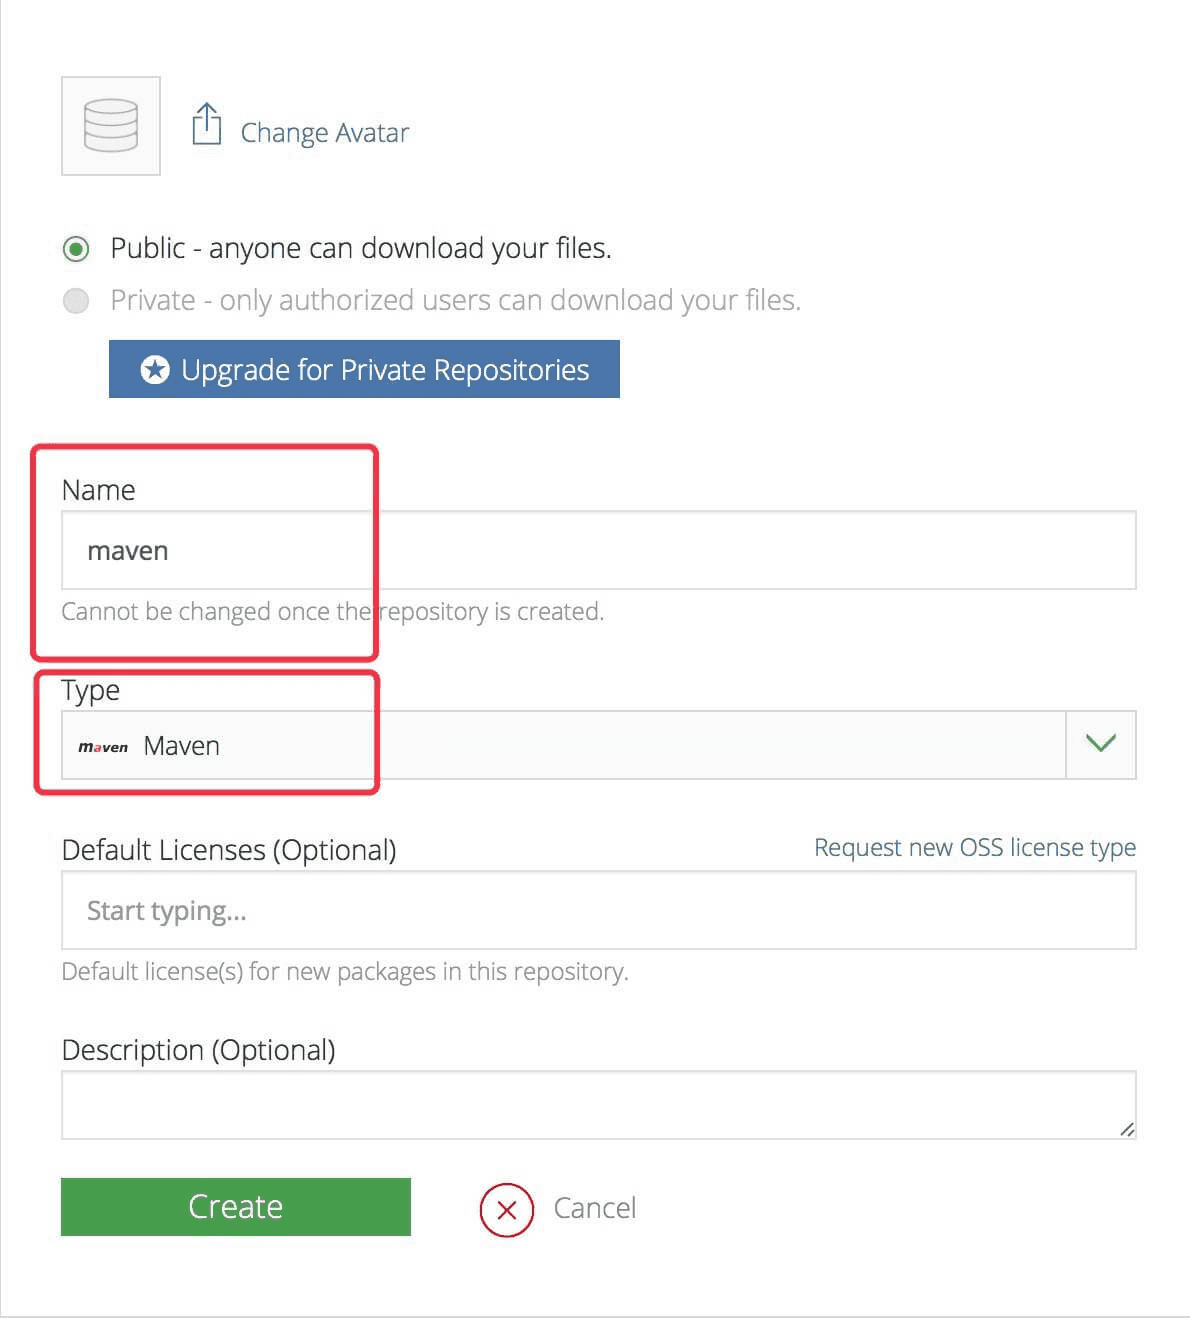
创建 Repository
在 bintray 网站首页找到Add New Repository创建仓库,注意Name和Type(其中的Name不一定要起maven)
添加插件
为根目录的build.gradle的dependencies添加bintray插件
classpath 'com.jfrog.bintray.gradle:gradle-bintray-plugin:1.7.3'
classpath 'com.github.dcendents:android-maven-gradle-plugin:1.5'
修改 module
修改你想发布的library级别的 module 的build.gradle,直接在后面添加如下代码
ext {
    bintrayRepo = 'maven'//上面创建`Repository`的是`Name`
    bintrayName = 'damon'//你想要发布的仓库的名称

    publishedGroupId = 'com.zyhang'//groupId,跟下面的artifact组合
    artifact = 'damon'//artifact,跟上面的groupId组合,到时候别人拉依赖就是`compile 'com.zyhang:damon:1.0.0'`

    siteUrl = 'https://github.com/izyhang/Damon'//项目地址
    gitUrl = 'https://github.com/izyhang/Damon.git'//项目git地址

    libraryVersion = '1.0.0'//版本号
    libraryName = 'Damon'//名称
    libraryDescription = 'a android mvp framework based on rxjava rxlifecycle'//介绍

    developerId = 'zyhang'//开发者id
    developerName = 'zyhang'//开发者名称
    developerEmail = '[email protected]'//开发者邮箱

    //以下不用改动
    licenseName = 'The Apache Software License, Version 2.0'
    licenseUrl = 'http://www.apache.org/licenses/LICENSE-2.0.txt'
    allLicenses = ["Apache-2.0"]
}

//这两句是编译上传配置
apply from:'../gradle/install.gradle'
apply from:'../gradle/bintray.gradle'
配置用户信息和 API key
打开项目的local.properties文件并增加
bintray.user=zyhang//刚才`Username
bintray.apikey=*********************************//刚才的API key
编译上传配置
在项目的gradle文件夹新建两个文件install.gradle和bintray.gradle,其内容如下
install.gradle
apply plugin: 'com.github.dcendents.android-maven'

group = publishedGroupId                               // Maven Group ID for the artifact

install {
    repositories.mavenInstaller {
        // This generates POM.xml with proper parameters
        pom {
            project {
                packaging 'aar'
                groupId publishedGroupId
                artifactId artifact

                // Add your description here
                name libraryName
                description libraryDescription
                url siteUrl

                // Set your license
                licenses {
                    license {
                        name licenseName
                        url licenseUrl
                    }
                }
                developers {
                    developer {
                        id developerId
                        name developerName
                        email developerEmail
                    }
                }
                scm {
                    connection gitUrl
                    developerConnection gitUrl
                    url siteUrl
                }
            }
        }
    }
}
bintray.gradle
apply plugin: 'com.jfrog.bintray'

version = libraryVersion

task sourcesJar(type: Jar) {
    from android.sourceSets.main.java.srcDirs
    classifier = 'sources'
}

artifacts {
    archives sourcesJar
}

android.libraryVariants.all { variant ->
    println variant.javaCompile.classpath.files
    if(variant.name == 'release') {
        task("generate${variant.name.capitalize()}Javadoc", type: Javadoc) {
            // title = ''
            // description = ''
            source = variant.javaCompile.source
            classpath = files(variant.javaCompile.classpath.files, project.android.getBootClasspath())
            options {
                encoding "utf-8"
                links "http://docs.oracle.com/javase/7/docs/api/"
                linksOffline "http://d.android.com/reference", "${android.sdkDirectory}/docs/reference"
            }
            exclude '**/BuildConfig.java'
            exclude '**/R.java'
        }
        task("javadoc${variant.name.capitalize()}Jar", type: Jar, dependsOn: "generate${variant.name.capitalize()}Javadoc") {
            classifier = 'javadoc'
            from tasks.getByName("generate${variant.name.capitalize()}Javadoc").destinationDir
        }
        artifacts {
            archives tasks.getByName("javadoc${variant.name.capitalize()}Jar")
        }
    }
}

// Bintray
Properties properties = new Properties()
properties.load(project.rootProject.file('local.properties').newDataInputStream())

bintray {
    user = properties.getProperty("bintray.user")
    key = properties.getProperty("bintray.apikey")

    configurations = ['archives']
    pkg {
        repo = bintrayRepo
        name = bintrayName
        desc = libraryDescription
        websiteUrl = siteUrl
        vcsUrl = gitUrl
        licenses = allLicenses
        publish = true
        publicDownloadNumbers = true
        version {
            desc = libraryDescription
            gpg {
                sign = true //Determines whether to GPG sign the files. The default is false
                passphrase = properties.getProperty("bintray.gpg.password")
                //Optional. The passphrase for GPG signing'
            }
        }
    }
}
上传
配置完成,准备上传到bintray
直接使用Android Studio的Terminal
./gradlew install
./gradlew bintrayupload如果遇到permission denied: ./gradlew
可以先执行chmod +x gradlew
等待编译成功出现 SUCCESS,这时候再上bintray就可以在刚才创建的Repository找到你的library

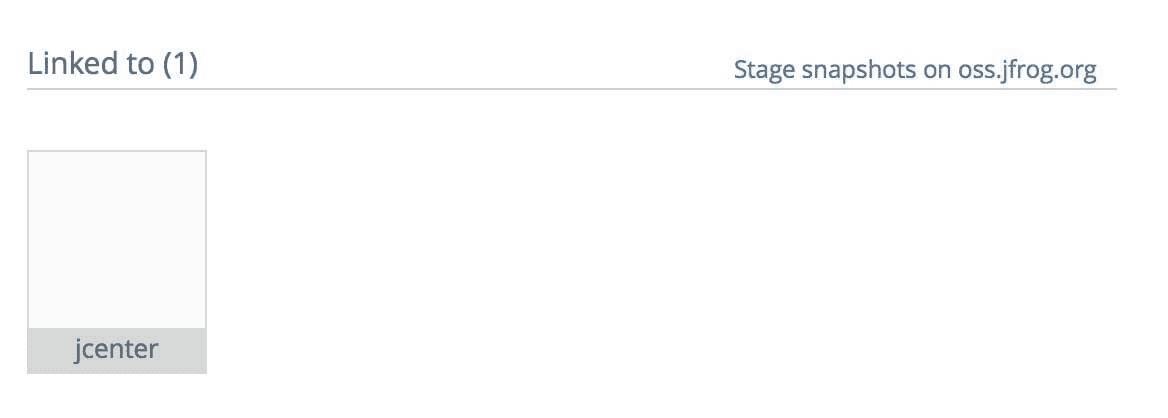
添加到 jcenter
虽然现在你的library已经发布了,但是也只是发布在你个人的Maven仓库中,如果别人要添加此依赖,还必须定义你的仓库的地址,如下
repositories {
    maven {
        url  "http://dl.bintray.com/zyhang/maven"//此地址可以在`package`页的`SET ME UP`里面找到
    }
}

...

dependencies {
    compile 'com.zyhang:damon:1.0.0'
}但是这样就与我们的预期不一致了,我们是想要一句话直接调用,不需要再去定义什么仓库地址,所以此时你只需要同步你的仓库到jcenter就行了
 然后提交坐等
approved就可以了,第二天就会收到邮件,现在就可以直接一句话拉依赖了

总结
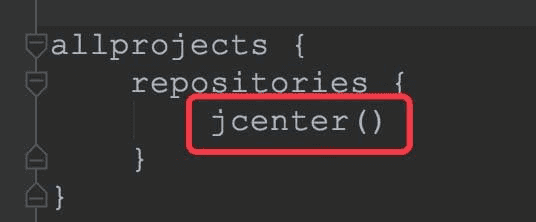
之所以配置到jcenter能够使别人一句话拉依赖其实也是因为使用jcenter的人是最多的,所以谷歌也直接帮我们自动配置了jcenter,在使用Android Studio新建项目的时候就可以看到
— Evil Mouth